Forspoken is a isekai video game that has you in a magical world working to get back home. The start of the game really sets up the rest of the game and is likely the hardest part to get through so we’ve got some tips and tricks for the early part of the game to get you up and started.
This guide works for Xbox, PS5 and PC since all three games are the same. If you’re looking for the best platform, PS5 is likely to run it the smoothest unless you have a beefy PC. If you’re having trouble running the game on PC then don’t hesitate to turn the settings down and make sure to close all the background applications.
There’s a demo available for PC players hesitant to purchase. It’s recommended to try the demo first to see how you like it before buying on PC.
Down the Rabbit Hole – Dragon
Roughly an hour into the game you’ll face your first boss, a Dragon. This occurs roughly after the long introduction scenes and tutorial. You’ll leave out of the house, fight a few wolves and be right at a huge HP dragon you have to take down.
The way to defeat the dragon is to wait until you stagger it (it loses its composure) and then use the “Killer Blow” technique to finish it. This moves you to another cutscene and the ACTUAL fight. This time around you’ll want to use shield shot and other ranged attacks until its staggered and then go in for the “Killer Blow.” Three of those will finish the dragon off.
You have to be up close, the icon above the enemy will light up when you’re in range to do it.
Altered Mylodon, Llingoceros, Etc.
After the introduction sequence and past the city you’ll be put into the open world to move about. Here you’ll find many mini-bosses named “Altered X” where X is the name of the boss. Each of these minibosses exist in the open world and can be engaged on your way to different quest markers.
They’re all fightable once you meet them, generally and all follow the same attack pattern the Dragon had. Follow that same ordeal (attack until you can do a “Killer Blow” and then swoop in for the kill).
These enemies often drop Breakshards like “Lambent Garland” that can be used later for nail painting.
Cipal, Side Quests and Missables
Cipal acts as sort of an early hub city and is where a lot of side quests start from. Some of these quests are missable and doing them is part of the content of the game. So its important when you’re in Cipal to go and take on any side quests you’re interested in and doing them while you’re there and they’re available.
Make sure to follow the tutorial prompts for crafting and adjusting your spells. You’ll need to do that to survive the upcoming more challenging encounters.
Her Father’s Findings, Breakshards and Nails
Roughly two hours into the game you’ll unlock the next way to customize your character. Breakshards, which drop from enemies can be broken down and used to paint your nails. For instance, “Blue Flash” lets you charge your spells more quickly and take -5% damage. Nails are sort of a “play type” customization that lets you focus more on your specific playstyle. Like “Slay” helps you just do 5% more spell damage and increases support magic damage.
So make sure to pay attention to the “Nail” tutorial.
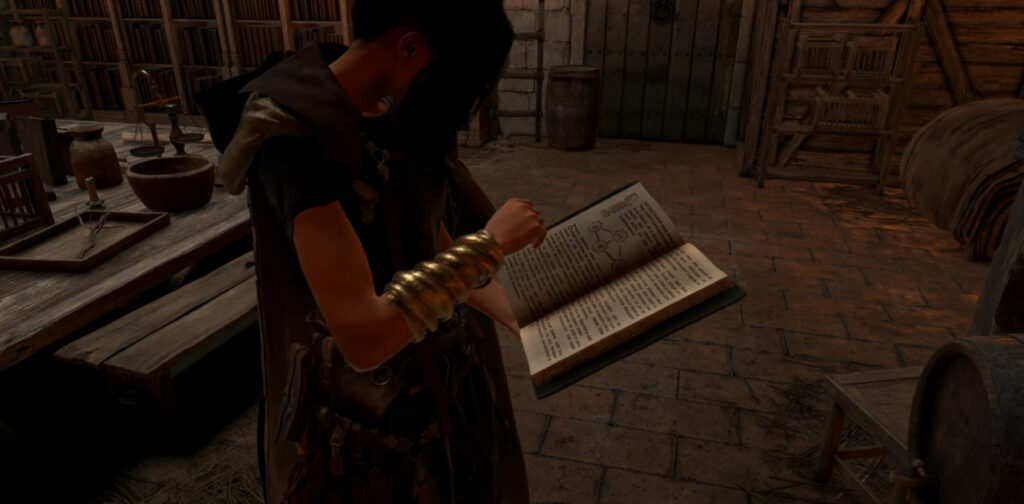
There’s a minor jump scare when you go upstairs in this mission. It’ll happen when you’re examining a table after you go through the Nail tutorial.
Be ready to be attacked when you head outside.
Recreant Knight
The last boss before the vast majority of the “tutorial” section of the game is over. The Recreant Knight can be a challenge if you’re not prepared. Be sure to have crafted the gear you can craft in the game, used your breakstones to paint your nails and be a reasonable level before advancing this far into the game and going into the fight.
Evade more than attack. That’s going to be specifically critical here. Find the times the knight is resting to attack from range and when the knight is active be evading at all times. Once you’ve defeated the knight, you’ll have likely leveled up and are now ready to take on the rest of the game.
General Tips
- Always loot everything.
- Make sure to adjust your spells, gear and nails for specific encounters if you ever fail.
- Practice fighting and make sure not to just run past enemies all the time. Its important to level up and get crafting materials along with experience with your spells and attacks as you move through the game. Its easy to just walk past everyone at the start, but its good to fight and get the experience.
- Check your quest journal and follow the waypoints if you’re lost on what to do.
- The tutorial prompts on the right side of the screen cover most of the game mechanics. You can sometimes skip them quickly but try not to. Things like “killer blows” are a requirement to get through some fights so make sure to read everything.
- Style while fighting is key, change things up and mix it up to get higher style ratings.

